
CC-Switch general steps
CC Switch is an open-source AI programming CLI unified management tool. It mainly solves one problem: when you are using Claude Code, Codex, Gemini CLI, OpenCode, and other tools simultaneously, you don’t want to change Key, Base URL, model name, and MCP configuration individually for each tool.
What this tool is and what it is used for
It is suitable for people who have already installed multiple command-line AI programming tools. Ordinary beginners who only use one chat software do not need to learn CC Switch first; if you start using Claude Code, Codex CLI, and Gemini CLI at the same time, then consider using it to manage Providers in a unified way.
What scenarios is it suitable for
Download, install, and open for the first time
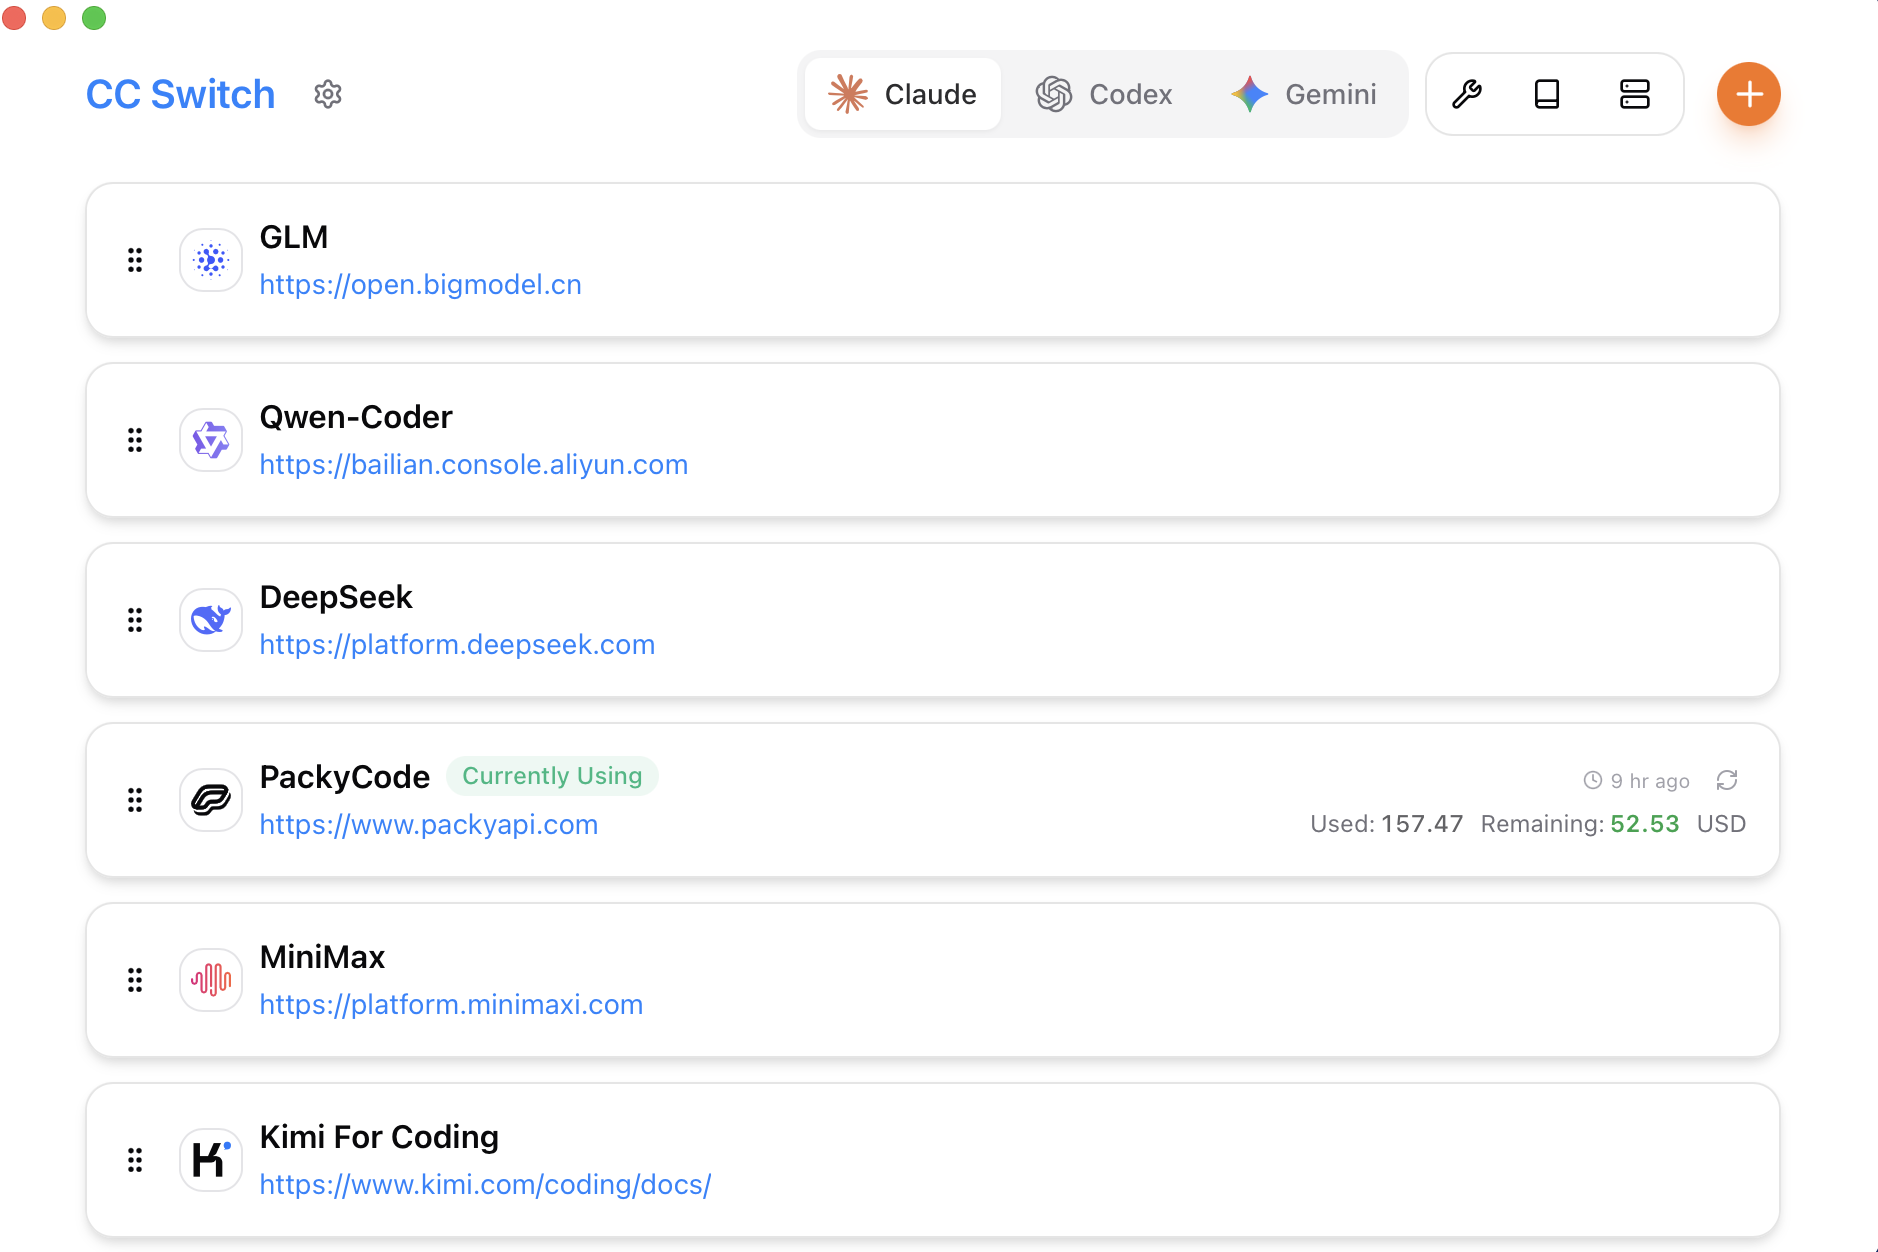
- Go to the CC Switch official website or GitHub Releases to download the current version.
- Windows users choose the installation package suitable for their system; macOS / Linux users follow the official installation instructions.
- After installation, first open the main program and confirm that the interface can load properly.
- If the system blocks the startup, first confirm that the source is the official repository or official website, and then follow the system prompts to allow it.
Add Provider
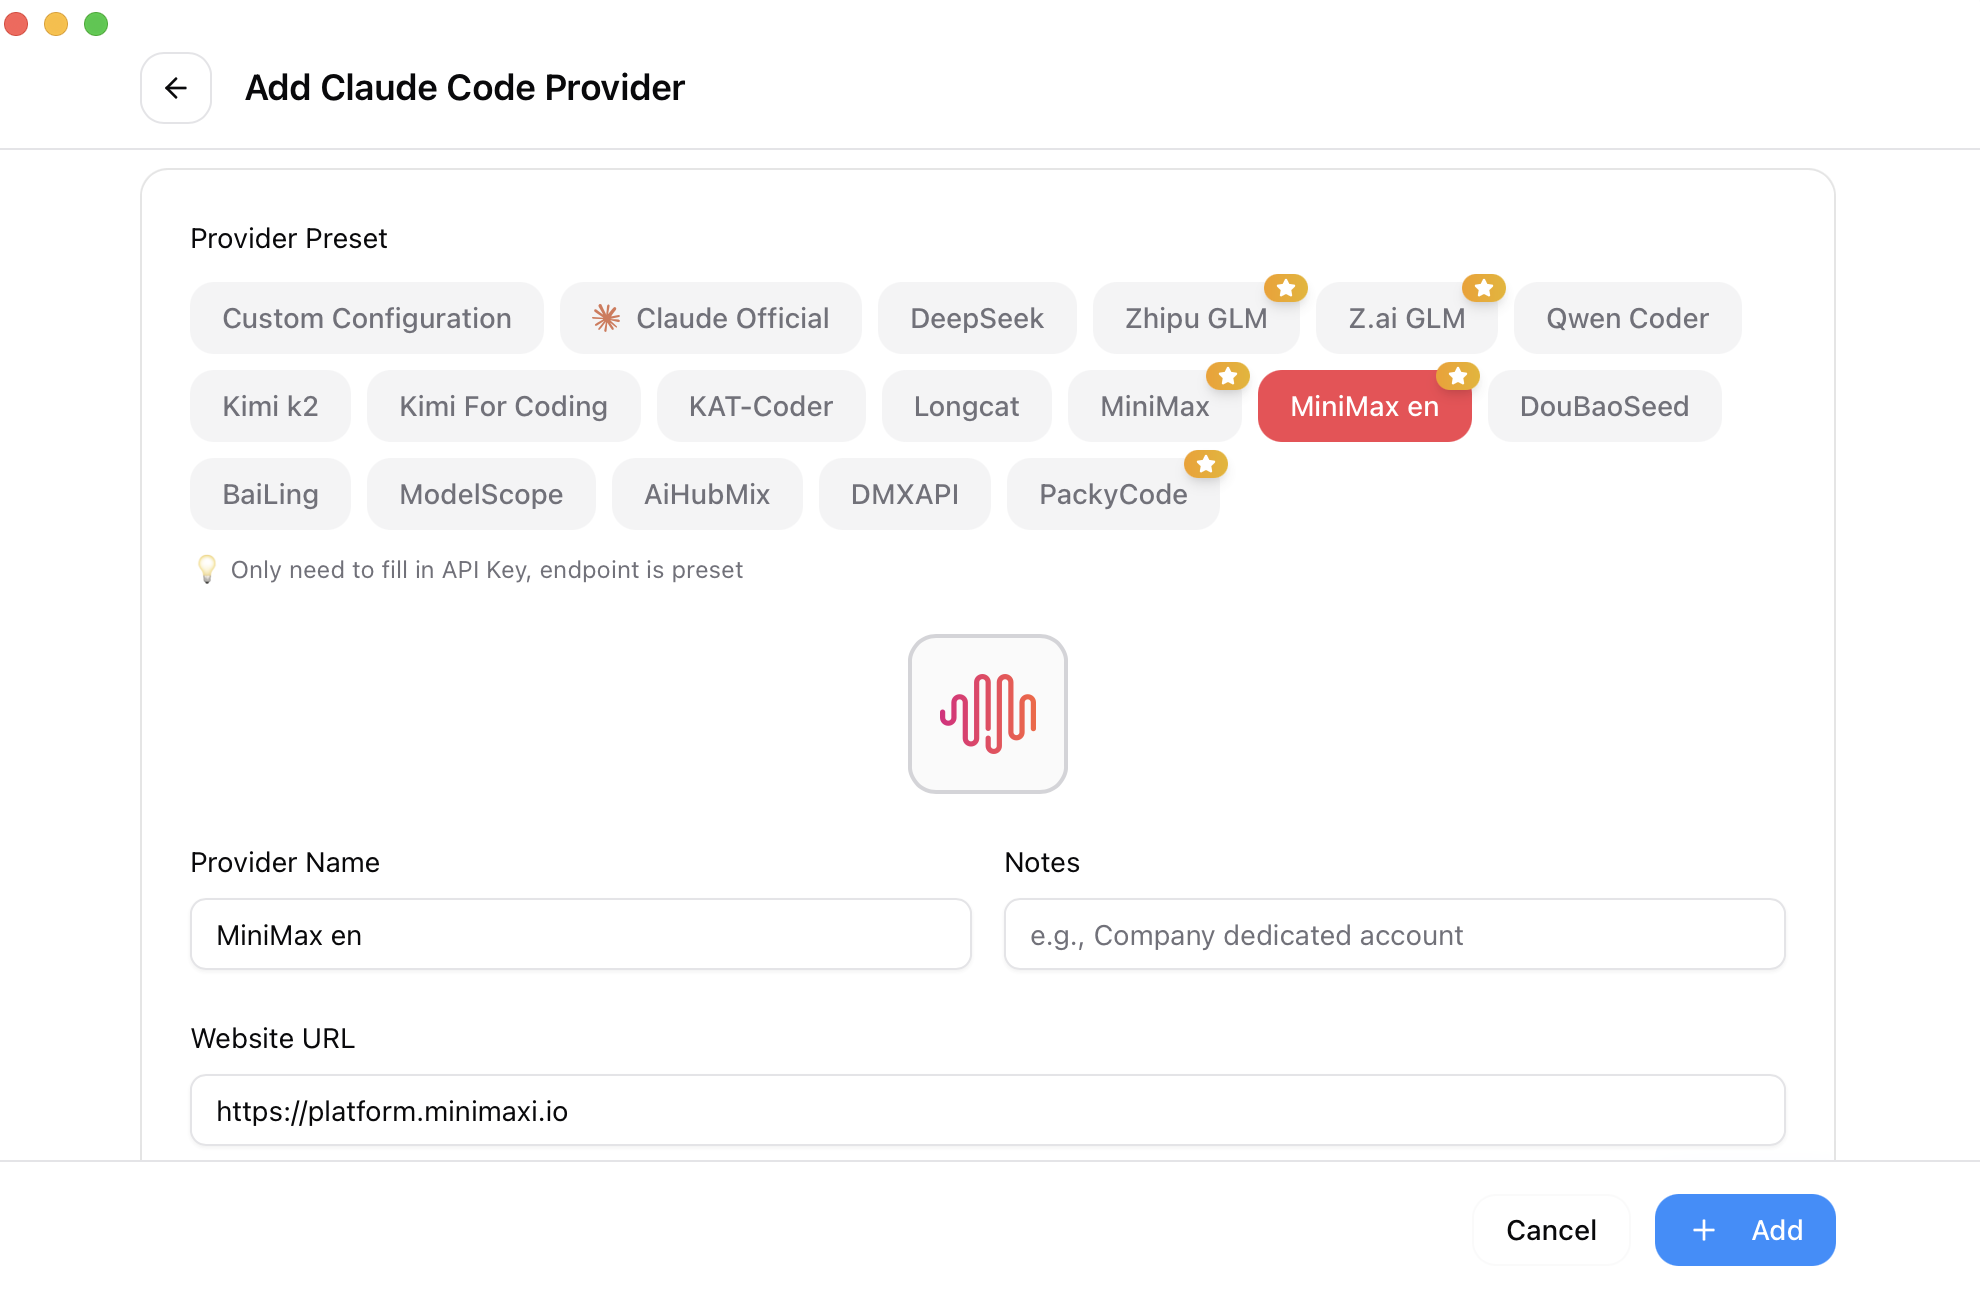
- First, separately confirm that Claude Code, Codex CLI, and Gemini CLI can start on their own. CC Switch is a management tool, not something that installs all the CLIs for you.
- Download the installation package from the official CC Switch repository or official website. Do not download from unknown cloud storage.
- Open CC Switch and go to the Provider Management page.
- Add a new Provider and name it after the provider, for example, 'Some AI provider'.
- Enter the Base URL, API Key, and model name provided by the provider's backend. The fields may vary for different target tools, so fill them in according to the prompts on the current CC Switch page.
- After saving, select the target tool to apply, such as Claude Code, Codex, Gemini CLI.
- After executing Switch / Apply, follow the prompt to restart the corresponding terminal or CLI. According to the official documentation, most tools require a restart after switching, while Claude Code currently supports hot switching.
| Configuration item | How to Fill | Attention Beginners |
|---|---|---|
| Provider Name | Write the provider or purpose | For example, 'main AI provider' and 'backup official key', don't just write 1, 2, 3 |
| Base URL | Copy the provider backend API link | Decide whether to include it according to the backend example /v1 |
| API Key | Copy the complete key | Do not take screenshots to make public, do not use the remark name as a key |
| Model Name | Copy the model list | Claude Code, Codex, and Gemini CLI may require different model names |
| Target Tool | Select the CLI to sync | Not all providers can work with all tools. When it fails, first choose only one tool to test. |
Verify separately according to target CLI
| Target Tool | What should be checked first? | Detail page |
|---|---|---|
| Claude Code | Claude / Anthropic interface address, Key, Claude model name | CC-Switch Claude Code |
| Codex CLI | OpenAI / Codex compatible address, Key, available Codex model names | CC-Switch Codex |
| Gemini CLI | Google / Gemini or Vertex related authentication methods | CC-Switch Gemini |
| CC-Switch-CLI | Command line configuration method when there is no graphical interface | CC-Switch-CLI usage |
How to test after switching
After switching, do not immediately handle real projects. First, send the shortest question in an empty directory or test project to confirm the request actually goes to the provider you selected.
claude "Please reply only: Configuration successful" codex "Please reply only: Configuration successful" gemini "Please reply only: Configuration successful"