
Continue Configuration
Continue is suitable for integrating custom models in VS Code or JetBrains. It usually requires writing configuration files, so it is more suitable for people who can already distinguish the Key, Base URL, and model name than Chatbox.
Official information Downloads and documentation are subject to the official site.
What scenarios is it suitable for
Code Q&ACustom ModelsConfiguration fileVS Code / JetBrains
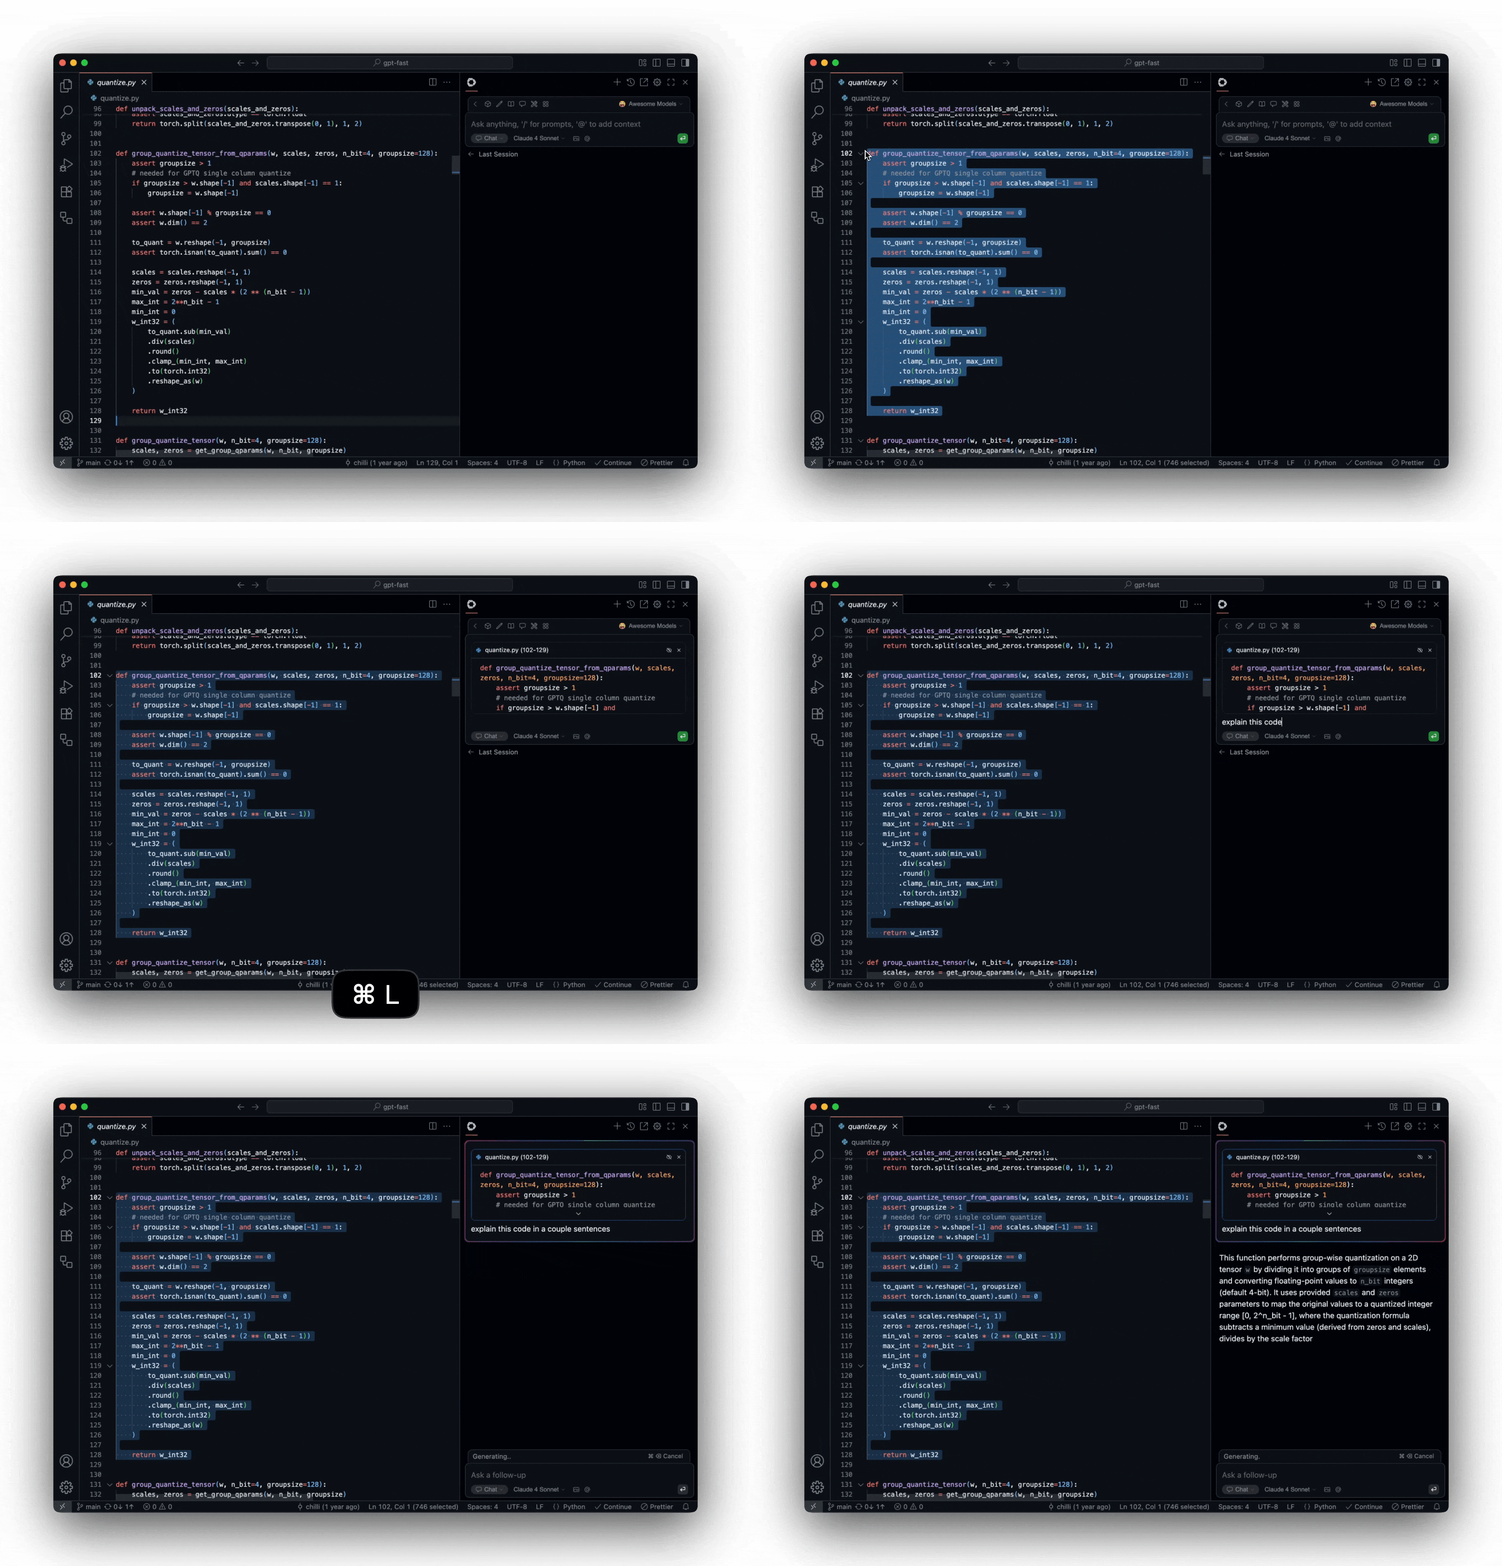
What to confirm before configuration
| Things to confirm | How to view | Why |
|---|---|---|
| Installation Location | Confirm that Continue is installed in VS Code or JetBrains | Continue is an editor extension, not a standalone provider backend |
| Configuration Entry | Open the configuration file from the Continue panel or extension settings | The location and format of the configuration file may vary between versions |
| Provider Type | For OpenAI-compatible services, usually select OpenAI or follow the official documentation | If the provider is selected incorrectly, the Key and Base URL may cause request failures |
| Model ID / Model Name | Copy directly from the provider's backend model list | Do not put a display name you created into the model field |
Configuration File Example
The configuration format of Continue may vary between versions. Below is a sample idea for OpenAI-compatible services: the Model ID / Model Name, Key, Base URL must match the provider's backend.
Continue OpenAI-Compatible Model Example
name: My local configuration version: 0.0.1 schema: v1 models: - name: Example AI Provider gpt-4.1 provider: openai model: gpt-4.1 apiKey: YOUR_API_KEY apiBase: https://YOUR_PROVIDER_API_URLField Explanation
| Setting | Meaning | How to Fill |
|---|---|---|
| name | The name you see in Continue | Write a name you can recognize yourself |
| provider | Type of model provider | For OpenAI-compatible services, usually write 'openai' or follow the official documentation |
| model | Model ID / Model Name used for API calls | Copy directly from the provider's model list, do not use a display name you created |
| apiKey | Your Key | Copy from the provider backend |
| apiBase | API Link | Copy the full Base URL, decide whether to include it according to the backend example /v1 |
How to test after saving
- After saving the configuration file, reload the Continue extension or restart the editor window.
- Open a test project, do not directly open important production projects.
- Select the newly configured model in the Continue chat box.
- First send 'Please only reply: Continue Configuration Successful'.
- If it fails, check the Key, Base URL, model fields, and Provider type in order.
It is recommended to ask like this for the first test
Read only the currently open file. Do not modify files or run commands. Please reply only: Continue configuration successful.If Continue reports a configuration format error, first check the official documentation for the configuration format corresponding to your current version, and do not just copy old tutorials.